
There are two ways you can transfer existing students from one class to another in MyMaths:
- To transfer existing students you can use the Teacher Dashboard to ‘transfer using MyMaths’. This route also gives you the option of setting tasks already allocated to the destination class to the students you are transferring in, as well as adding them to a new class while also keeping them in their existing class. See ‘Transfer using MyMaths‘ below.
- You can also use a spreadsheet to move students from one class to another. This option also lets you update multiple students’ details in one go, such as their name, username, and password. See ‘Transfer or update student details using a spreadsheet’ below.
You can add existing students to more than one class. All students must be assigned to one class, however, students can be assigned to multiple classes to suit the different needs of each school.
Transfer using MyMaths
First log into the Teacher Dashboard. Go to the Admin tab.
Hit the Transfer students button.
In the menu that opens, select the option Transfer using MyMaths.
A ‘transfer student’ screen appears. From the dropdown in the top left select the class containing the students you wish to transfer.
A list of all students in that class is shown. Select the students you would like to transfer. You can select them individually, or you can select all by checking the box next to student name.
You must then select whether you wish to transfer the students to a new class or to an existing class.
If transferring to a new class enter the name of the new class you wish to create.
If transferring to an existing class, select the destination class from the dropdown. You can also choose whether the students you are transferring should also be set the tasks that are currently allocated to that class. You can do this by checking the box add students to allocations.
You now need to choose whether to:
- Copy students
- Move students
- Move students and uncompleted allocations
Move students and uncompleted allocations: this will move the selected students to a different class and remove them from their old class. Students will still need to complete any homework they have left from their old class.
Move students: this will move the selected students to a different class and remove them from their old class. Students will not need to complete any homework they have uncompleted from their old class.
Copy students: this will add the selected students to a different class as well as keeping them in their old class, without affecting their homework list.
Once the preferred option is selected hit Confirm to complete the transfer.
Transfer or update student details using a spreadsheet
This function was improved and these instructions changed on October 14th 2021.
Note: If the class that you want to transfer existing students to does not yet exist in MyMaths you will need to create the class first. Details of how to create classes in MyMaths are available on this support page.
First log into the Teacher Dashboard. Go to the Admin tab.
Select the classes containing the students you wish to transfer using the checkboxes.
Hit the Transfer students button.
Select the option Export for class transfer. This downloads a spreadsheet containing details of those classes.
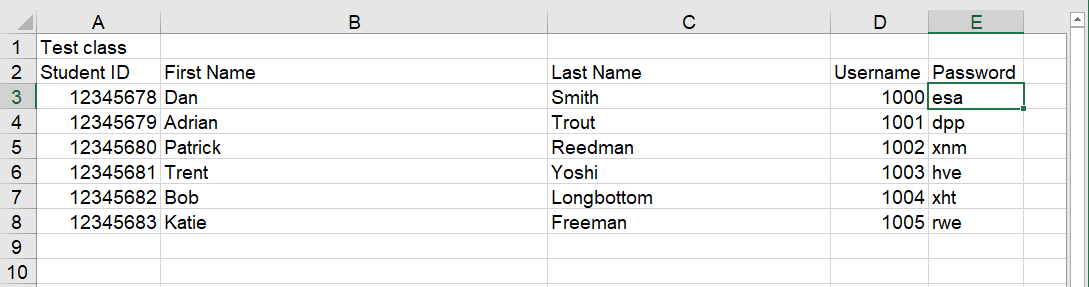
Open the spreadsheet and you will see a list of students all in the same class. Each class will be shown on a separate tab.
This spreadsheet contains their MyMaths student ID, first and last name, username and password.
To move one or more students to a different class, cut and paste the whole row with the students’ details from the original class tab to their new class tab. Remove any empty rows in your class list so there are no gaps. Do not change the class name in cell A1 of each class tab as this will cause the Import process to fail.
By duplicating details, students can be members of multiple classes. If you remove a student entirely from the spreadsheet they will be removed from all classes, but their details will remain in the MyMaths platform.
You can also use this spreadsheet to update student names, as well as their individual usernames and passwords.
Usernames must be numbers. You cannot change the username to letters.
Passwords must be three letters only.
Make sure you do not change or delete the Student ID. Changing the ID will cause the import to fail or disrupt other students’ data.
Save the spreadsheet once you have made all the changes to you wish to make. It does not matter what you call the spreadsheet. However, do not change the file format. It must remain in .xlsx format.
Log back in to the Teacher Dashboard. Go to the Admin tab.
Hit the Import button.
Select the option Import transferred students then Import spreadsheet (.xlsx), selecting the spreadsheet from your device that you want to import.
You will see a message confirming that the import was successful. This is confirmation that the changes to the students’ details have been completed. The details in the spreadsheet will exactly match the class setup in the MyMaths platform.
If there are issues with the import a message will be shown highlighting the errors. Correct these and follow the steps to import the file again.